Repetitive admin work can quietly eat the best hours of a small business day: copying form responses into a spreadsheet, sending the same follow-up email, reminding clients about invoices, or creating a task every time a new lead arrives. The good news is that you do not need to write code to reduce a lot of that manual work.
This guide explains how to automate small business tasks with Zapier or Make using practical, low-risk workflows. You will see when Zapier is the simpler choice, when Make gives you more control, and how to build beginner-friendly automations for lead capture, invoice reminders, client onboarding, spreadsheet updates, and follow-up emails.

Quick answer: what should you automate first?
Start with tasks that are frequent, predictable, and easy to reverse. A good first workflow has one clear trigger, one or two actions, and no major financial or legal consequence if it needs correction.
For example, when someone fills out a contact form, you can automatically add the lead to a spreadsheet and send yourself a notification. That is safer than immediately sending a contract, charging a card, or deleting records. Once the simple version works reliably, you can add more steps.
Best first automations for beginners
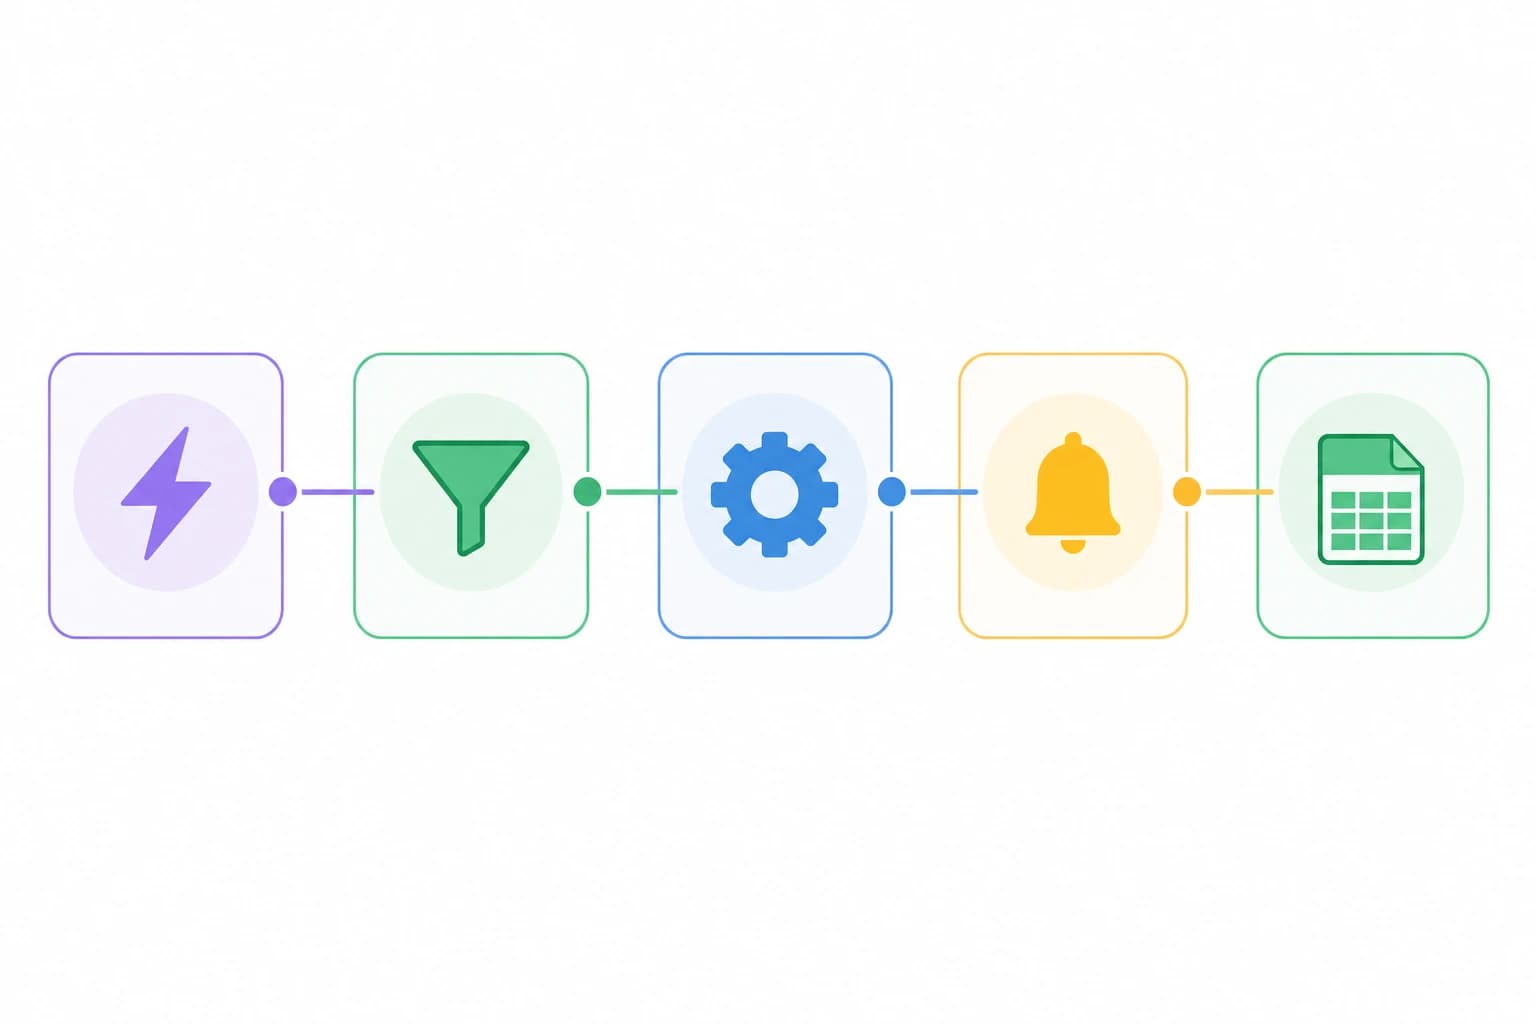
- Lead capture: New form submission → add row to Google Sheets → send notification email.
- Follow-up email: New CRM contact → wait 1 day → send a polite check-in email.
- Client onboarding: New accepted proposal → create project folder → create task list.
- Invoice reminders: New unpaid invoice or due-date row → send reminder to the business owner for review.
- Spreadsheet update: New order, booking, or form response → update a central tracking sheet.
If lead follow-up is your main bottleneck, you may also find this related guide useful: How to Automate Lead Follow-Ups with a Form, CRM, and Email Tool Without Hiring a Developer.
Zapier vs Make for small business: which one fits your workflow?
Zapier and Make are both no-code automation tools. They connect apps so one event can trigger another action. Zapier calls these automations Zaps, while Make calls them scenarios. Zapier’s official help center explains the basic Zap structure as triggers and actions, and Make’s help documentation describes scenarios as connected modules that run in a sequence or route through different paths. You can review the official references at Zapier Help and Make Help.
The practical difference for most small businesses is not whether one is universally better. It is whether your workflow needs speed and simplicity or visual control and branching logic.
| Criteria | Zapier | Make |
|---|---|---|
| Beginner friendliness | Usually easier for simple trigger-and-action workflows. | Still beginner-friendly, but the visual builder can take longer to learn. |
| Best fit | Simple workflows such as form to spreadsheet, new lead to email, or CRM to task. | Multi-step workflows with filters, routers, data formatting, and multiple outcomes. |
| Workflow view | Linear step-by-step builder. | Visual canvas with modules connected like a map. |
| Branching logic | Available, but can feel more advanced depending on the workflow. | Strong visual routing for “if this, then that, otherwise do this” workflows. |
| Best beginner use case | A contact form creates a lead record and sends a notification. | A form submission is sorted by service type, then sent to different spreadsheets or email templates. |
| What to check before choosing | Whether your apps are supported and whether your plan includes the steps you need. | Whether your scenario schedule, operations, and app modules match your expected volume. |
Use Zapier when you want the shortest path from problem to working automation. Use Make when you already know the process has branches, conditions, or several data transformations. Many small businesses can use either tool; the right choice is usually the one your team will understand and maintain.
Before you build: tools, time, and a simple workflow map
For a first automation, plan for 30 to 90 minutes. The difficulty is beginner if you already know how your apps work. The hardest part is often not the automation tool; it is deciding exactly what should happen and what should not happen.
Tools you may need
- A Zapier or Make account.
- Access to the apps you want to connect, such as Google Forms, Typeform, Gmail, Outlook, Google Sheets, Airtable, Trello, Asana, QuickBooks, Xero, Stripe, or your CRM.
- One test email address and one test form submission.
- A simple spreadsheet with clear column names such as Name, Email, Service, Source, Status, Follow-up Date, and Notes.
- Permission to connect business accounts. Avoid building automations from a personal account if the workflow belongs to the business.
If your workflow uses cloud folders or team files, keep folder structure simple. This guide on Google Drive vs Dropbox vs OneDrive for Remote Team File Management can help if your document system is still messy.
Draw the workflow in one sentence
Before opening Zapier or Make, write the workflow like this:
When [trigger event] happens in [app], do [action] in [app], then notify [person] if [condition].
Example: “When a new website inquiry arrives in Google Forms, add the lead to Google Sheets, create a task in Trello, and email the owner if the requested service is ‘urgent repair.’”
That sentence prevents scope creep. If you cannot describe the automation clearly in one sentence, simplify it before building.
Step-by-step: build a low-risk lead capture automation
This example uses a common small-business scenario: a service business receives inquiries through a form and wants every lead recorded in a spreadsheet with an internal notification. You can adapt the same structure to quotes, bookings, newsletter requests, consultation forms, or support inquiries.
Goal
New form response → add lead to spreadsheet → send internal email notification.
Difficulty and setup time
- Difficulty: Beginner.
- Estimated setup time: 45 minutes for a first build.
- Risk level: Low, because it only copies information and sends an internal alert.
Steps
- Create or clean up your form. Use clear fields: full name, email, phone, service needed, preferred contact time, and message. Avoid optional fields that your workflow depends on.
- Create a destination spreadsheet. Add one header row with exact column names. Include Status and Follow-up Date so the sheet becomes a working lead tracker, not just a data dump.
- Choose the trigger. In Zapier, choose the form app and a trigger such as new form response. In Make, add the form app module that watches for new responses.
- Connect the form account. Use a business-owned account when possible. If an employee leaves, personal-account automations can break or become difficult to manage.
- Test the trigger. Submit one test lead with realistic data. Use a name like “Test Lead” so it is easy to delete later.
- Add the spreadsheet action. Map form fields to spreadsheet columns. Name goes to Name, email goes to Email, service goes to Service, and so on. Do not place multiple unrelated values in one cell if you will need to sort or filter later.
- Add an internal notification. Send an email or Slack/Microsoft Teams message to the owner or sales inbox. Include the lead’s name, service requested, email, phone, and a link to the spreadsheet row if your app supports it.
- Turn it on and monitor the first 5 real submissions. Check whether the rows are clean, emails are readable, and no fields are missing.
Variation: if you have different service types, add a filter or path. For example, urgent repair requests can notify the owner immediately, while general quote requests can go to a shared inbox. This is where Make’s visual router can be helpful, though Zapier can also handle branching depending on the setup.
Five useful business automation examples
1. Automate invoices, emails, and forms without losing control
A safe invoice reminder workflow does not have to email clients automatically on day one. A lower-risk version is: invoice due date appears in your accounting app or spreadsheet → send the business owner a reminder → owner reviews and sends the client message manually.
Once you trust the workflow, you might send a polite reminder automatically for standard invoices. Keep the tone neutral and include invoice number, due date, amount, and payment link only if those fields are reliably available from your invoicing tool. If invoicing is a bigger issue, compare features in Best Invoicing Tools for Freelancers and Small Businesses.
2. Client onboarding after a proposal is accepted
When a proposal or contract is marked accepted, the automation can create a project folder, copy a checklist, create a project in Asana, Trello, or ClickUp, and send an internal kickoff email. This saves time and makes onboarding more consistent.
Keep client-facing onboarding emails simple until you have tested every field. A broken merge field like “Hello {{FirstName}}” looks unprofessional. Internal tasks are safer for early automation.
3. Spreadsheet updates for orders, bookings, or requests
Many small businesses still run part of operations from a spreadsheet. That is fine if the sheet is organized. Automation can add new orders, update statuses, or log booking requests. Use one row per transaction or request. Avoid merged cells, blank header names, and multiple tables on one sheet because automation tools depend on predictable structure.
4. Follow-up emails for new leads
A simple follow-up system might send a first response immediately and a second reminder after 2 business days if the lead has not been marked contacted. The important detail is the condition. Do not send follow-ups blindly if someone already booked, declined, or asked not to be contacted.
For a broader process, see How to Build a Simple Customer Follow-Up System for a Small Service Business.
5. Support request routing
For a small support inbox, a form can ask customers to choose Billing, Technical Issue, Scheduling, or General Question. The automation can create different tasks or send notifications to different people. If you later want to add AI-assisted replies, start with a human review step. This related article explains a cautious approach: How to Build a Simple AI-Powered Customer Support Workflow for a Small Business.
How to decide what should be automated and what should stay manual
Not every repetitive task deserves automation. A task is a good candidate when it follows the same rule most of the time, uses structured information, and does not require sensitive judgment. A task should stay manual when the cost of a wrong action is high or the input varies too much.
Use this automation scorecard
- Frequency: Does it happen at least once a week?
- Predictability: Can you describe the rule in one sentence?
- Data quality: Are the fields clean and consistent?
- Reversibility: Can you undo the result if the automation misfires?
- Business risk: Would an error upset a client, lose money, or expose private information?
If a task scores well on the first four and low on risk, it is a strong first automation.
Common mistakes to avoid
Automating a broken process
If your current process is unclear, automation will make the confusion faster. Fix the checklist, spreadsheet, naming convention, or email template first. Then automate the clean version.
Skipping filters and stop conditions
Beginner workflows often miss the “do not continue if” rule. For example, do not send a follow-up email if the status is Booked, Not a Fit, Refunded, or Do Not Contact. A simple filter can prevent awkward messages.
Using vague spreadsheet columns
Columns like “Info” or “Details” become messy quickly. Use separate columns for Name, Email, Phone, Service, Source, Status, and Follow-up Date. Automation works best with structured fields.
Letting automations run without an owner
Every workflow should have one owner who knows what it does, which apps it connects, and how to turn it off. Keep a small automation log with the workflow name, purpose, connected apps, owner, and last review date.
Ignoring privacy and account access
Automation tools can move customer information between apps. Only connect the apps you need, limit access to the people who need it, and review permissions when staff or contractors change. For a practical security baseline, read the Small Business Cybersecurity Checklist.
A simple rollout plan for your first 30 days
Do not try to automate the whole business at once. A steady rollout is safer and easier to maintain.
- Week 1: Pick one low-risk workflow. Choose lead capture, spreadsheet logging, or internal notifications. Avoid payment, deletion, or client-facing workflows as the first project.
- Week 2: Build and test with sample data. Run at least 3 test cases: normal data, missing optional data, and an unusual but realistic request.
- Week 3: Turn it on and monitor daily. Check the first 5 to 10 real runs. Fix field mapping, formatting, or notification wording.
- Week 4: Document and improve. Write a short note explaining what triggers the workflow, what it changes, and how to pause it. Then decide whether to add one filter, one extra action, or a second workflow.
This slow approach may feel less exciting than building a complex automation map, but it prevents messy systems that nobody understands later.
FAQ
Can I automate small business tasks with Zapier or Make without coding?
Yes. Both tools are designed for no-code workflow automation. You still need to understand your business process, choose the right trigger, map fields carefully, and test the workflow before relying on it.
Which is better for beginners, Zapier or Make?
Zapier is often simpler for a first linear workflow, such as sending form responses to a spreadsheet. Make can be better when the workflow needs visual branching, multiple routes, or more detailed data handling. The best choice depends on your apps and the complexity of the process.
What small business tasks should not be automated first?
Avoid starting with high-risk actions such as deleting records, sending sensitive client messages, issuing refunds, changing financial records, or making commitments without human review. Begin with internal notifications and data copying.
Can I automate invoice reminders?
Yes, but start carefully. A low-risk setup sends an internal reminder to you when an invoice is close to due or overdue. After testing, you can consider client-facing reminders if your invoice data, payment links, and contact fields are reliable.
How often should I review automations?
Review important workflows at least monthly, and also after changing apps, forms, spreadsheet columns, email templates, or staff access. Many automation problems happen because something connected to the workflow changed.
Conclusion
The easiest way to automate small business tasks with Zapier or Make is to start small: one trigger, one clear action, and one safe result. Lead capture, spreadsheet updates, invoice review reminders, onboarding tasks, and follow-up prompts are practical places to begin because they save time without handing over too much control.
Choose Zapier if you want a straightforward setup for common app-to-app workflows. Choose Make if your process needs visual routing, conditions, or more flexible multi-step logic. Whichever tool you use, document the workflow, test it with realistic data, and keep a human review step anywhere the risk is high.